Hey! Want some proof that I really have been blogging and not just skiving off posting here? Visit my latest post for Chicago Fashion and Flair for instructions to make a klanky metal necklace. This metal hunk was once a purse handle, now it's 2 necklaces.
See? Ch-Check it out! I'm not supposed to re-post blogs in different locations... so if you could just head over to that site, it would be greatly appreciated. :]
Showing posts with label DIY. Show all posts
Showing posts with label DIY. Show all posts
Thursday, September 6, 2012
DIY Necklace for ChicagoNow
Friday, August 24, 2012
An Explanation of Absence
If you haven't noticed, I've been a bit absent on this blog as of late... and I have a real reason! I've started blogging for ChicagoNow. My posts are going to be mainly street fashion in the city alongside original DIYs that I create. So obviously, they don't like me posting DIYs in two places and their site claims priority. So. If you miss my blog, by all means, visit my other blog, Chicago Fashion & Flair, here:
http://www.chicagonow.com/chicago-fashion-flair
I have 3 new DIYs queued up, so make sure to check them out! See, here's me hard at work on one of them...
http://www.chicagonow.com/chicago-fashion-flair
I have 3 new DIYs queued up, so make sure to check them out! See, here's me hard at work on one of them...
I hope you'll check the site out and support other Chicago bloggers!
Thursday, June 28, 2012
DIY Pearl Drop Necklace
I've been a terrible blogger lately. Sorry. I've got a summer job at the Joffrey Ballet and I get to live in the Loop. Summertime Chi is amazing!
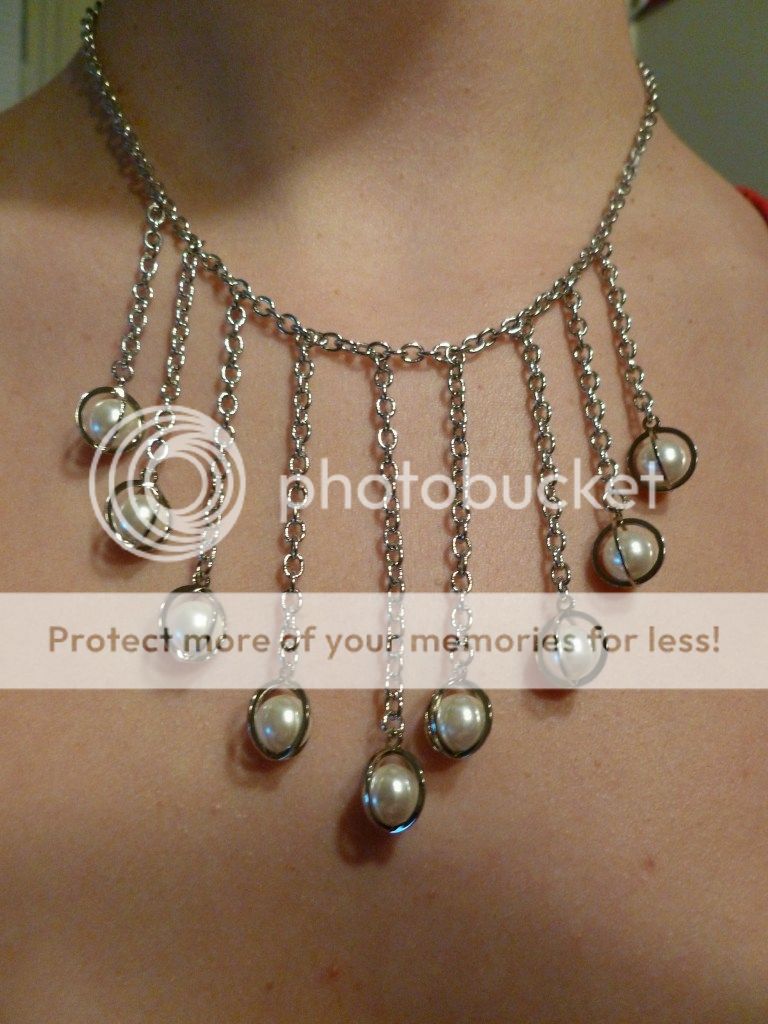
But anyway, here's one of the last DIYs I made in Syracuse with supplies I picked up from Toho Shoji in Manhattan. These little spherical caged pearl beads were an impulse buy because they're too cool looking not to buy... most of my necklaces are pendents so I stepped a little outside my box here to create something different.
But anyway, here's one of the last DIYs I made in Syracuse with supplies I picked up from Toho Shoji in Manhattan. These little spherical caged pearl beads were an impulse buy because they're too cool looking not to buy... most of my necklaces are pendents so I stepped a little outside my box here to create something different.
Because I was running short on chain, I decided to use ribbon to secure the necklace in the back. I attached 2 large jump rings to the end of the chain I had left for the actual necklace chain. I used 9 dangling chains with a bead attached at each end and staggered the length of each by 2 or 3 links. The curve of the necklace will create a more noticeable difference when you're wearing it. Also make sure to attach each segment the same distance apart; I think I separated mine by 5 links.
Simply fold your ribbon over the ending jump rings and crazy glue the ends. Crazy glue is a crafter's staple, I use it for absolutely everything!
Here's what it looks like on. Fance, right!?
Saturday, May 19, 2012
DIY: Bleach Splatter Tank
I'm sneaking in one last DIY before I leave for Charleston tomorrow (!). I always end up with a pile of Hanes beaters that my brother doesn't want, so I basically experiment on them. I dyed one black but it came out a charcoal gray color and wasn't evenly dyed at all.
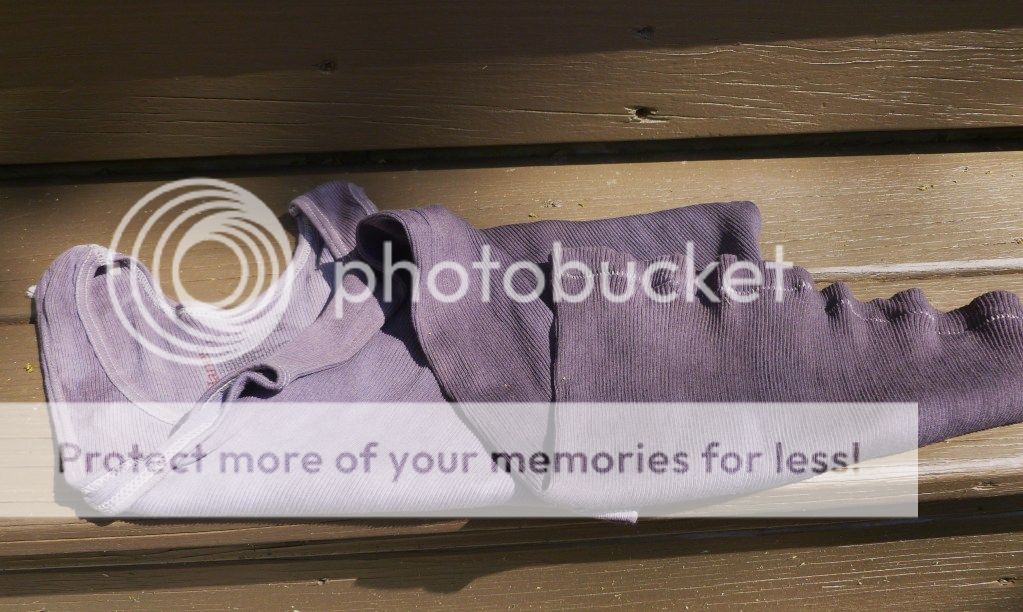
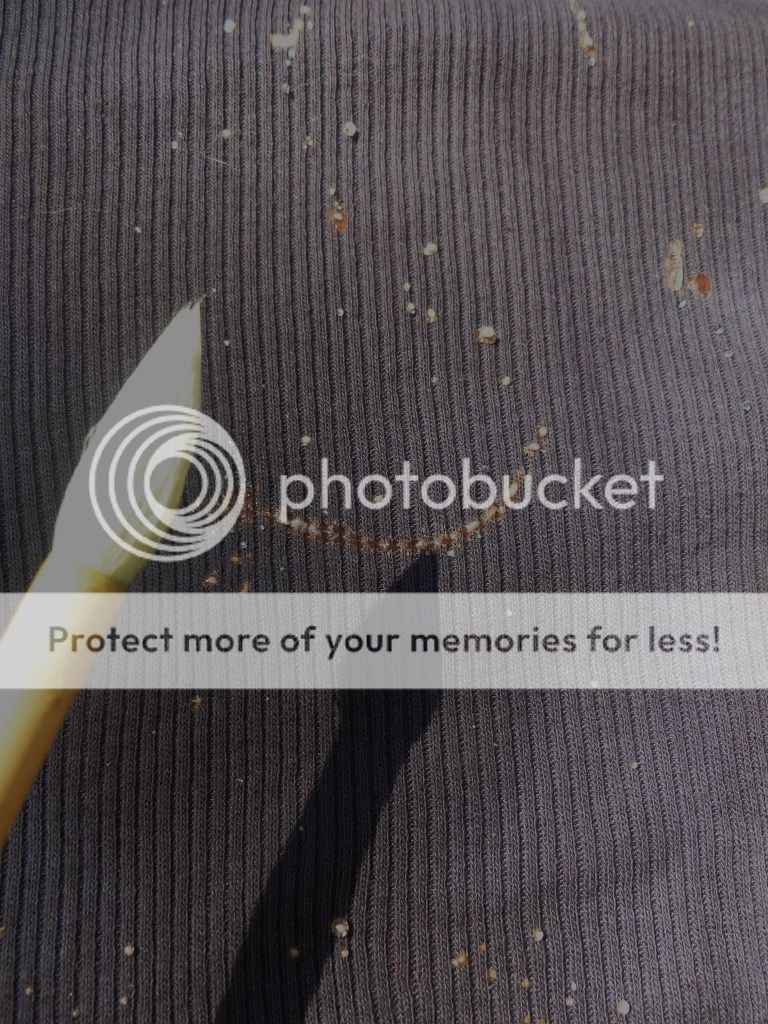
Since it looked a little grungey already, I decided to bleach splatter it and make it look like a complete hot mess instead of half a hot mess. All you need is a shirt, liquid bleach, a cup to put it in, and a paintbrush you're willing to destroy.

Since it looked a little grungey already, I decided to bleach splatter it and make it look like a complete hot mess instead of half a hot mess. All you need is a shirt, liquid bleach, a cup to put it in, and a paintbrush you're willing to destroy.
The best advice I
can give for bleaching technique is swish and flick.
Wingardium Leviosa, baby. Load up your paint brush dripping with
bleach and fling it. It's best to work outside or on some newspapers
so you don't speckle everything within a 10 foot radius.
I now know what
it's like to be Jackson Pollock. It's not as easy as it looks and
there is a slight technique to it, unless you just want bleach globs
everywhere. Make sure you do
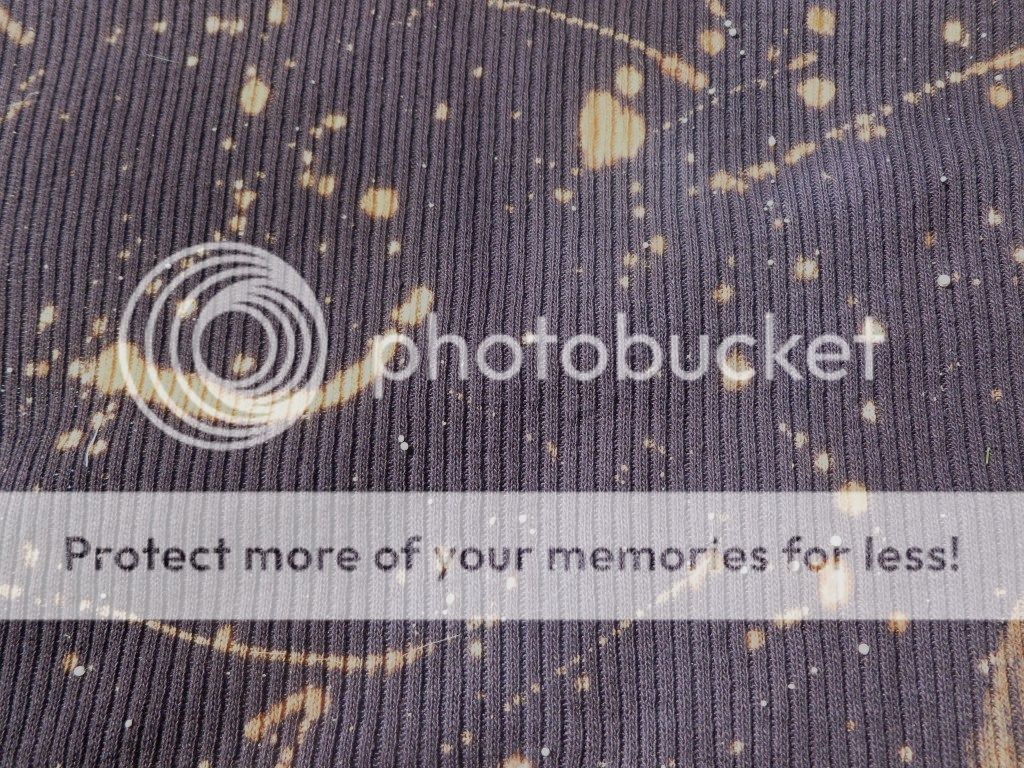
the sides of your top as well as the front and back. You want the
whole garment to be evenly splattered.
Here's the finished product!
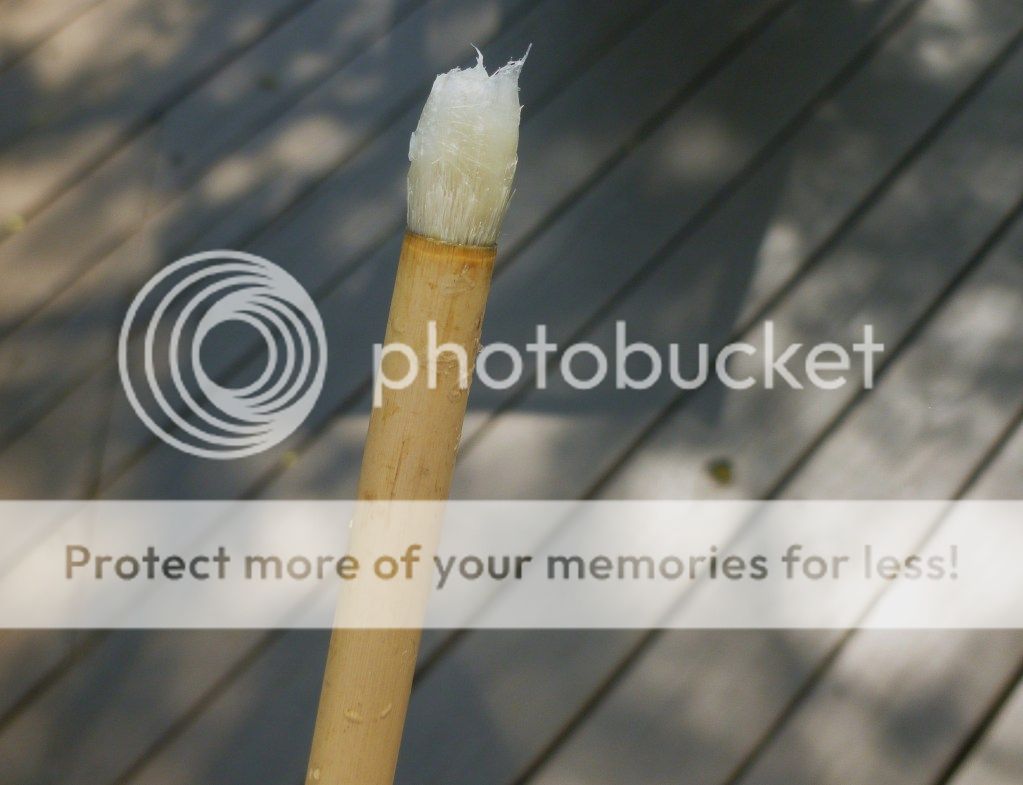
I wasn't kidding about bleach destroying paintbrushes. Bleach is
dangerous stuff; it ate most of the bristles off of my beautiful
bamboo calligraphy brushes (not that I ever used it...). Be careful!
Labels:
bleach splattering,
bleaching,
DIY,
t-shirt modification
Tuesday, May 8, 2012
DIY Newspaper Clutch
And a very happy
rainy spring day to y'all! Yesterday I took my last final ever
(EVER), and while it was not my finest academic moment, it was my
last formal academic moment so yay to that. I just realized I
haven't posted a DIY in a long time so let me scroll the depths of my
super secret blog photos archive and see what's lurking around
unpublished...
NEWSPAPER CLUTCH!
I've
had this obnoxious fuchsia clutch from UO hiding out in the
back of my closet for years. I've never actually used it because it's
a really awkward size and I honestly don't even like clutches that
much. But I saw this awesome tutorial on I SPY DIY
for modpodging a clutch. As any
former Girl Scout should, I love mod podge. And this project looked
very journalistic to me, so I decided to revamp the little pink box.
I
conveniently made this project on daylight saving time day so the
Chicago Tribune was
full of pictures of famous clocks and very proper noun heavy with
famous city landmarks. Perfect!
You
can't go wrong with mod podge. If you think something looks dumb,
just paint more glue and slap a different section of newsprint over
it. I coated my clutch with the glue, stuck a chopped piece of
newspaper over it, and layered with more glue.
I left pieces of print hanging over the sides of the clutch until they dried, then trimmed them off using an exacto blade.
Each of the two sides look a little different. For the "Chicago" side, I glued my main piece down first and then overlapped it with print. For the "Tribune" side, I glued the main piece over the others. Which side do you think looks better? I think I like the "Chicago" side better... and it has a picture of the Marshall Fields clock!
Friday, March 30, 2012
DIY Suede & Chain Bracelet II
Remember my tutorial for the suede and chain bracelet? Here's another one:
I made this as an afterthought with the leftover leather (no, I do NOT believe in throwing scraps out. NEVER!). I was ogling over my other chains and I realized that my bronzey-gold chain was actually cut into 2 pieces and wired together. How sneaky! If I needed that piece for a serious project, I would be pretty pissed that I wasn't given one continuous length. Very bad, Toho Shoji.
(Look! A lighthouse charm! I haven't used it yet, though.)
But anyway, now I had a length of chain exactly the length of my wrist. I took my leather leftovers, about 10 inches, and weaved in and out of the chain (think of the strap of a classic Chanel purse- leather through chain). I also picked up a few little charms at Toho so I stuck the gold ship wheel in the middle of the chain.
This didn't leave me with much leather left to use to fasten the bracelet by tying a bow. I decided to use a sliding knot but could not for the life of me figure out how to tie one. I literally spent 5 minutes staring at a diagram and could not understand it.
Luckily I found another tutorial here and realized that all I had to do was tie two knots, leaving the tail end going through each. It's really pretty simple once the dots connect in your head.
Finished!
Tuesday, March 20, 2012
DIY Dip Dye
Hey everyone! I'm back from a lovely spring break in the Chi with a backlog of DIYs to share.
I finally found a white collared shirt to dip dye! It's made of 100% cotton, which is best for taking dye. And I used navy blue RIT dye (the bottled kind), although my shirt turned out purple. How did that happen? I don't know. I also don't really mind either. My wardrobe could use more color.
I found the tutorial on Refinery29 and followed it almost exactly. The part where I always skimp on is mixing the dye... fail. You should probably measure out your dye and make correct dye-to-water ratios and know how much salt you need. I usually just dump some dye into a glass bowl of hot water and throw as much salt in as I feel like. DIY stands for Do-It-(MY WAY). The fun of DIY is making things up as you go along!
The only important rules to follow are to wet and ring out your shirt to the point where you want your dye to run up to.
Leave it hanging in the dye for at least 2 hours. After a half hour, pour water down the shirt to encourage the dye to spread upwards. I found that the dye really liked running up the seams, making my front seam like a stripe.
After a few hours, rise your shirt until the water runs clear through it. Use gloves unless you want stained hands. Yes, this will take forever. Patience, grasshopper. Wash it separately from the rest of your clothes; I wouldn't be surprised if dye kept seeping out no matter how much you think it rinsed out.
Here's how mine turned out... bit more purple than navy blue usually is! I like it :] I wore it with my purple cameo ring and DIY suede chain bracelet.
Saturday, February 4, 2012
DIY Bird Nest Necklace
Hey guys! I've had a busy week starting my internship at Bridal Guide in NYC and will be pretty busy with that for the next few months, so you can expect updates on weekends only (Probably. Maybe!).
This is a project I did a while ago but never put up, since I didn't have a chain for the necklace yet. I randomed across a tutorial from Sincerely Kinsey that I thought was soooo adorable and really easy, considering I already had the materials. It's a bird nest necklace!
Precious, right? Here's my version. I used silver wire (because I already had it) and blue beads because... they're robin egg colored!
I cut a long length off of the spool since I didn't know how much I was going to be using, it might have been around 5 feet. First, cluster the three beads together and weave them together so they stay securely. Then begin wrapping the wire around the beads in a circle.
Make sure you make a circle at some point where you will be able to thread through a necklace chain. Do this sooner rather than later in your weaving process. If you leave it until the end, it might stretch itself out while you're wearing it. Once you're satisfied with the size of your nest, weave in the end of your wire and make sure it isn't going to be poking you while you're wearing it.
Like I said, I don't have a chain yet... but this is what the pendent looks like! It'll be a great spring necklace.
This is a project I did a while ago but never put up, since I didn't have a chain for the necklace yet. I randomed across a tutorial from Sincerely Kinsey that I thought was soooo adorable and really easy, considering I already had the materials. It's a bird nest necklace!
Precious, right? Here's my version. I used silver wire (because I already had it) and blue beads because... they're robin egg colored!
I cut a long length off of the spool since I didn't know how much I was going to be using, it might have been around 5 feet. First, cluster the three beads together and weave them together so they stay securely. Then begin wrapping the wire around the beads in a circle.
After a couple wraps around, you will have a neat, circular coil that will seem rather floppy. Once you get to this point, don't be neat anymore! Weave the wire around the coils and cross behind the beads. If your wire gets bends and random wiggles in it, that's ok! Actually, it looks better and more realistic that way. Have you ever looked at a real bird nest? They're kind of hot messes of weaving random things. Copy that!
Like I said, I don't have a chain yet... but this is what the pendent looks like! It'll be a great spring necklace.
Sunday, January 29, 2012
DIY Ripped Tights
Deconstruction time!
I got a 3 pack of black tights for Christmas, 2 patterned and 1 plain. I already have a plain pair and these are low waisted (for tights? not a fan) and after I wore them once, I put a nice run in them. Two, actually. But it was New Year's Eve so... it was beyond my control.
(Booo, no longer perfect tights. What to do?)
So as one of my it's-midnight-and-I'm-bored projects, I decided to rip them. If they turn out horrible, it's a learning experience, as I always say. I browsed a couple tutorials on youtube and this one was my favorite by far. Of course I don't have a seam ripper with me so I armed myself with other sharp objects I DO have: scissors, thumb tacks, pins, and a razor blade. Sounds great?
I ended up using the razor blade because scissors chop too much and pins don't cut. AND THEN, something amazing happened. I timidly cut a little hole and tugged at it, just like the video said to and I got these huge lines unraveling up like this:
What ended up happening is that I made lots and lots more runs. It reminded me of that beater that I unraveled over the summer (see here). And I decided, who needs gaping huge holes? I liked these little holes and big runs better. And this was so fun! I love deconstruction so much.
Once you're satisfied with the front side, take your tights off, put them on backwards and rip more holes and stretch. You'll find that when you put them on again and stretch them out, all the runs will keep... running. Resistance is futile.
And here's the finished product, taken right after I got a haircut (don't judge the mop). Try it, it's great fun.
Saturday, January 7, 2012
EVEN More Studding
Here's some inspo for today's DIY:
This project is a result of something that went three different ways. This used to be a orange-pinkish men's shirt. I had intended to make it into a skirt and it turned into a hideous potato sack looking thing. It was not cute. At. All. So I made it into an apron instead. I even got really crafty and used the buttoned cuffs as the halter part.
I cut the top collar off with the intention of making it just a neck piece. But the color was really not too flattering on someone who loses all their tan in the winter. So I dyed it black with some RIT dye. It ended up turning dark charcoal grey and the stitching turned a lighter shade of grey. I'm okay with that color combo.
Upon returning to Syracuse, I remembered I had 30 studs left over from my last studding frenzy. What better way to spice up a collar than stud it!? The material is stiff doubled cotton so I had to slice holes to stick the studs through. Push the pointy parts of the stud into the fabric so that they leave an indentation, then take a razor blade and poke the end through the fabric just enough to cut a few fibers. I even got a ruler out and attempted to measure and lay out the studs correctly... and then I didn't and eyeballed it instead.
I intended on going stud-happy like I usually do, but in the end, I actually reined it in. Only four per side. I plan on wearing this with any t-shirt I have. Maybe my obnoxious yellow LA Pride tee! Ok, fine, I'll take a lazy webcam pic so you don't notice my tired eyes and face lacking in makeup (I had an early flight).
Friday, December 16, 2011
DIY Peter Pan Collar
Haven't posted since Sunday and it feels like FOREVER! This has been my first week on winter break and I've been being extremely lazy by sitting around DIYing and watching the Sopranos. Peter Pan collars are majorly trending right now, which is awesome because they're so classic and I love them. Here's one I made the other day. I got the pattern and instructions from Honestly WTF. I'd put up shots step by step as I was making it but it was pretty simple and the original site does a lovely job of it.
Ignore my usual herp-n-derpy face. Blehh.
I've been meaning to use this anchor button since forever!
My tips: I have the same exact leather rotary hole punch as shown in the tutorial and it does not work. Not on felt, at least. All it does is make an indentation and doesn't actually cut through fabric. I wanted to use it because the hole would be smaller and a little less “I hole punched this and it can fit right in my 3-ring binder.” But a standard hole puncher does work, so I would recommend using it. Also, be careful with tying the ribbon as your fabric will be thin and it rip. Mine ripped right before I took this picture so I'm going to reinforce it with hot glue momentarily.
Sunday, November 27, 2011
DIY Garter
Ok, who wants to see a video of ME!? I had to film something for my winter wedding project for my magazine class and decided to do a DIY garter because it's the easiest thing ever. I had initially planned on making a boutonniere but they don't require sewing and aren't as awesome. So here I am, sewing my garter. There are a few shots with the top of my head cut off because I was filming myself and couldn't see what kind of picture I was getting. Note to self: drag brother out of the basement to stand behind the camera for more than just one shot.
Friday, November 18, 2011
Melting plastic bags... on clothes
I'm back in the flat: Illinois! I did the usual things that I do when I get home (take a bubble bath and bake cookies) and threw in a little DIY since I have been so deprived at school.
I've had this shirt (dress?) from H&M for a while but I hardly ever wear it because I think it looks like a prison uniform. So I decided to modify it with this amazing tutorial I found here titled “fusing plastic bags on to fabric.” That sounds like all kinds of win to me. So I figured that since grey and white stripes are slightly nautical, I should slap a black plastic bag anchor on my shirt. I found an image and traced it onto a piece of paper.
After cutting it out, I taped it to a plastic bag and cut out the anchor shape. I'd recommend taping the paper cutout to the plastic bag. I didn't want to pin it because I didn't want to put a hole in the plastic.
Figure out where you want your design to go...
Head over to your iron with a piece of parchment paper (so you don't get goopy melted plastic on it. parchment paper also doesn't burn.). Cover the plastic with the paper and press over with your iron for 20 seconds. Don't be alarmed when the plastic bag starts to shrink a little bit, that's what will happen since it's melting.
No matter how cleanly you cut out the design, the edges will probably get a little wiggly-looking. You can't control how the plastic melts. Let it cool off a little bit before you peel the parchment paper off or your design will peel right off with it.
Pretty cool, yeah?
And I made peanut butter oatmeal chocolate chip cookies. It's good to be home :]
Subscribe to:
Posts (Atom)


